Showing posts with label baking. Show all posts

October 04, 2017

Homemade Potato Chips - an easy and fast guide

Some days just call for not the healthiest comfort food. You agree?
We had more than a hole week of it. And I decided I would share this very simple guide of homemade potato chips with you guys. Shop bought potato chips are often made from mashed potatoes with additives or cost an arm and a leg, when all it needs is a few potatoes! I bake mine in the oven, as I don't have a deep fryer.
homemade potato chips - an easy and fast guide

I wash the potatoes, if they are new ones, they get to keep their skin, if not, I peel them. Next I chop them lengthwise into chip size.


chopped potato Chips

September 20, 2017

Apple Harvest, Apple Storage and a Recipe for a Traditional Irish Apple Blackberry Pie


make a traditional Irish  apple blackberry pie and learn how to harvest and store apples through out the winter


The boys and I were out picking apples this weekend. Unfortunately this years harvest isn't as plentiful as the years before. In early Spring frost hit the trees while they were in full blossom and at their fragilest. I am not sure, if I will have enough to make apple sauce to last for the whole year, but we´ll find a replacement when time comes. The boys still had a blast climbing the tree and picking the apples. What we usually do is we collect them all, including the ones that have fallen on the ground as they only attract wasps and slugs if you leave them there. And we have plenty of those around anyway and we don't need any more.

September 11, 2017

My most favourite Carrot Cake Recipe


my most favourite carrot cake recipe


Carrot harvest has started here. The days got cooler. I have started to light fires in our fire place again.  This time of the year simply calls, no what do I say it cries for carrot cake and some hot cafĂ© au lait!

May 30, 2017

Dandelion Syrup - Because Dandelions are no Weed!

As I have mentioned before Dandelion should not be considered a weed, it has many health benefits and the different parts of the Dandelion can be a tasty addition in your cooking or baking.

picture collage to promote Dandelion Syrup with Dandelion flower heads and a bottle of Dandelion syrup


Today I share with you our Dandelion syrup recipe which I have been making for the past 4 years every spring. We eat it with pancakes instead of maple syrup and I also use the dandelion syrup in cooking and baking. I like to add a table spoon of it so my bread dough as a starter help for the yeast or sour dough. It also adds a little extra flavour to the bread.  Dandelion syrup is also said to be a cough remedy if combined with ginger and used one teaspoon per day. But I have not tried this yet as we usually use thyme extract from our trusted pharmacy as a cough remedy which works wonders for my boys and they love taking it.

To make the dandelion syrup I send my boys out in the garden every spring with a bowl each and tell them collect me as many fully opened yellow Dandelion flower heads as you can.  This is this years result!

dandelion flowerheads after collecting for dandelion syrup

Once those bowels are filled with flowers we all sit down and pluck off just the yellow bits of the flower.
little boy plucking dandelion flower heads for dandelion syrup

plate full of plucked dandelion flowers for dandelion syrup

Next I browse them off with cold water and then put them in a sauce pan for every 3 cups of yellow Dandelion tips ( loosely filled into cup not squashed) you add  4 cups of water.

Bring to boil and then let cool down and let stand at room temp (18-22C) for 12-18h.
Pour boiling water into the bottles and caps which you want to use for storing the dandelion syrup. This is to sterilise them. Next discard water in caps and pour either vodka, rum or any other drinkable high percent alcohol into the lids to sterilise them. That little amount of alcohol I pour into dandelion liquid, just to not waste it, it isn't really part of the recipe, it is more an ongoing joke between me and my husband, that I am not wasting his good stuff just because I want to sterilise my caps. Once you have all this prepared pour the dandelion-water-mix through a  tight meshed sieve into another pot. Make sure all dandelion flower bits are caught by the sieve and are discarded onto your compost pile. Bring the remaining dandelion infused water to a boil and add for every 4 cups of it 500 grams of raw brown sugar and the juice and zest of one organic lemon.
zested lemon for dandelion syrup

Leave at mild boil with no lid for at least 10 mins stirring it most of the time.
Fill into your sterilised bottles screw lids on and store in fridge for up to a year!

bottles of dandelion syrup

a bottle of homemade dandelion syrup decorated with a dandelion flower


The dandelion syrup is a versatile addition to your food. A bottle will go a long way, similar to maple syrup or golden syrup. It is a great substitute for sweetening with something other than the usual sugar, maple syrup or honey. Especially in the vegan kitchen where the cook is also thinking green and doesn't want to use maple syrup or rice syrup for various reasons (making and transport would be two major ones coming to my mind) this is a great addition to the pantry. Nearly anyone with a backyard has Dandelions, they are easy to spot and identify. There isn't really much where you can go wrong and if you are new to foraging, this one would make a great start. 

What was your first foraging experience? Mine were Blueberries and wild garlic both in an old forrest. 

I hope you enjoye this recipe.

the bitten one signature


April 18, 2017

Easy Carrot Bread Recipe

I have baked a lot of bread over the last 6 years and this easy carrot bread loaf recipes became one of my boys current favourites. That´s why I thought I would share it with you.

Easy Carrot Bread Recipe. Makes one loaf of carrot bread.


This carrot bread recipe is really very simple.

April 08, 2017

Banana Chocolate Waffles - a good & fast way to use up those giraffe coloured overripe bananas


Are You guilty of collecting some of those ripe bananas and then let them end unused in the compost?


Well, join to the club! I decided I need to fight this wasting! So from now on I will come up with uses!
Here is my first experiment. As so often it involves the waffle iron!

February 21, 2017

Roasted Hazelnut Chocolate Brownies - A gluten free taste bud explosion!


You can make these very tasty brownies out of any left over nut meal from making nut milk. You can also just use any ground nuts or nut flour, if you have no left over nut meal in your freezer.  These roasted hazelnut chocolate brownies were made out of the roasted hazelnut meal from last weeks roasted hazelnut milk post. They are incredibly moist and rich in taste. Roasting the hazelnuts really adds the extra bit of flavour to these little taste bombs.


Here is the very simple recipe:

Melt 70 grams butter in a saucepan
and add 150 grams of chocolate (I use a mix of 70% and 85% dark chocolate) and stir until melted
add 150 grams of brown raw sugar
and 6 eggs one ofter the other, while risking on high speed for a while after each
and add 2 tablespoons of vanilla extract (find out here how to make your own) Whisk all well
Now gently fold 200 grams of defrosted roasted hazelnut meal (you can add any nut meal here, we have also tried almonds or cashews. Both make very tasty Brownies!) Here you find out how to make your own. You can also use 200 grams of very finely ground hazelnuts (or really any nuts to make a different brownie) if you have no nut meal in your freezer. Be aware if you take ordinary ground (hazel)nuts your brownies will be a little less moist!  Once all is a homogeneous mass pour it into your buttered baking dish (I use a 23cm/9 inch square silicon form that is 4,5 cm in hight)  Now bake in preheated oven at 180C/360F for 15-20 minutes. You don't want to over bake them, rather still have them a little moist instead of bone dry....they should be just about baked.

Enjoy!


November 09, 2016

Quark Pizza Roll, No-Flour, Gluten-free, Low-Carb yet absolutely yummy

You might remember last weeks post about how to make your own Quark Cheese. I was asked by some if I could also post some savoury recipes using it.
So here comes a rather unusual one, that we have tried, tested and loved: A Pizza Roll! The Twist, its dough is made without flour, which makes it gluten free and also interesting for those that try to eat low-carb. If you wonder about the spuds in the picture, we ate the roll rather because we love the taste and not because we follow dietary guidelines, sorry guys!


September 29, 2016

Chocolate Waffles - A Spontaneous Experiment Involving The Waffle Iron


Today we felt like we needed a little food for nerves, and decided we´d add some chocolate to our waffle dough.


September 05, 2016

Blackberry Waffles


The other day I had a few fresh picked Blackberries sitting on the counter while I was making waffles for the boys for our tea break and my little one asked what would happen if we put them in the waffle maker. So here we went and created our new favourite tea break treat!


Go make your favourite Waffle dough  and put a hand full of Blackberries in the waffle iron with every waffle you make. Need a new favourite Waffle recipe? Mine is added below!


Our Waffle recipe:
125gr brown raw sugar
125gr soft butter
3 small or 2 large eggs
2-3 teaspoons of real Rum
250gr of flour
250ml buttermilk
1 leveled teaspoon of baking powder
Mix all together, mix until well mixed, pur into waffle maker and add blackberries (or any other fruit) if desired. 

BTW this recipe also freezes very well (the raw dough) and if you have left over Waffles, you can store them in a container in the fridge for 2-3 days and stick them in the toaster just before you eat them. 

Enjoy!


August 22, 2016

Home-Made Cream Cheese with the bonus of getting some fresh Whey


Making your own cream cheese is so simple and tastes so good, you will never want to go back to the bought one! And I dare say you have all the ingredients at hand. As this does not require anything fancy like rennet. All you need is yoghurt and some salt.

Making your own has many advantages. Because you use your own yoghurt you control the amount of fat yourself (mine has 3,8% as that is what fat the milk has that I use for making our yoghurt), same for the amount and the type of salt. Lets say you suffer from Hyperthyroidism (use salt, that has no iodine) or heart disease (use less to very little salt). I am also pretty sure you could make this vegan by using a vegan type of yoghurt but I haven't tried it myself.

You need something to use as a cheesecloth. Either a real cheese cloth, which I don't like! It is too much waste for my environmentally friendly taste. I use either thinnish kitchen towels or my by now not anymore needed Burp clothes. It is a great way to recycle (or is it an up-cycle?) these Burp-clothes.
After use I rinse them out, let them dry and then collect them for a hot-hot wash (95C) with washing powder and ACV (apple cider vinegar).

You also need a jug that is preferable not plastic and big enough to hold at least 700 ml volume.

Now line your jug with your Cloth, if it is a very thin cloth, but big enough consider folding it and use it double. Make sure you have enough excess material at all sides of the jug, so you can tie it later without the yoghurt squirting out the sides!

Now spoon 2 jars (each approximatly 200gr) of cold! natural yoghurt (here is a recipe for homemade yoghurt) into the cloth. Gather the ends not too tight, but short enough that there is at least 2 cm space below the hanging cheese cloth construct to let the whey drip out. Make sure at all times that the whey does NOT reach the bottom of your cloth! The most dripping will happen in the first 2h. I usually leave it for a while on the counter and pour the fresh whey straight into a little bottle.
this is the construction that works best for me. I started with a rubber band and a spoon to tie it up, but I find the clip works best, as it just fits over the rim of my jug.

Whey gathered and refilled 

Once it slows down dripping I put it into the fridge for 24h. After that scratch it out of your cloth into a bowel and add about 1/8-1/4 teaspoon of salt to taste ( I have seen up to one teaspoon in recipes, which I tried at first, but I found that it is way too salty). Now my husband (and some of our guests agree with him) wants me to stop here, as he likes his cream cheese creamy and soft. If you feel the same way about the consistency of your cream cheese, fill it into a jar and enjoy.
But, if you like it firm and crumbly get out a fresh cloth and line a very small bowl just big enough to hold the contents of your cream cheese mass. Fill the cream cheese into the cloth lined container. Cut out a piece of card board just a small bit smaller than the opening. Fold the cloth closed tight over the cheese. But your piece of card board on top and then go find some weight that fits on top and pushes the whole shebang down and is not any wider then the opening of your tiny bowl (I used to fill a yoghurt jar with water and screw the lid on and leave it on top of the cream cheese. refrigerate your construction for another 24h. scrape out of cloth into a fresh jar with screw-on lid and enjoy!

The whey contains a lot of the milks protein. I use it mainly for baking bread, but I also used it to start a ginger bug, in smoothies and as a treatment for powdery mildew on my courgettes/zucchinis and pumpkins plants.


June 07, 2016

DIY Muesli /Granola that even my kids go mad for


Lets talk Muesli or Granola!

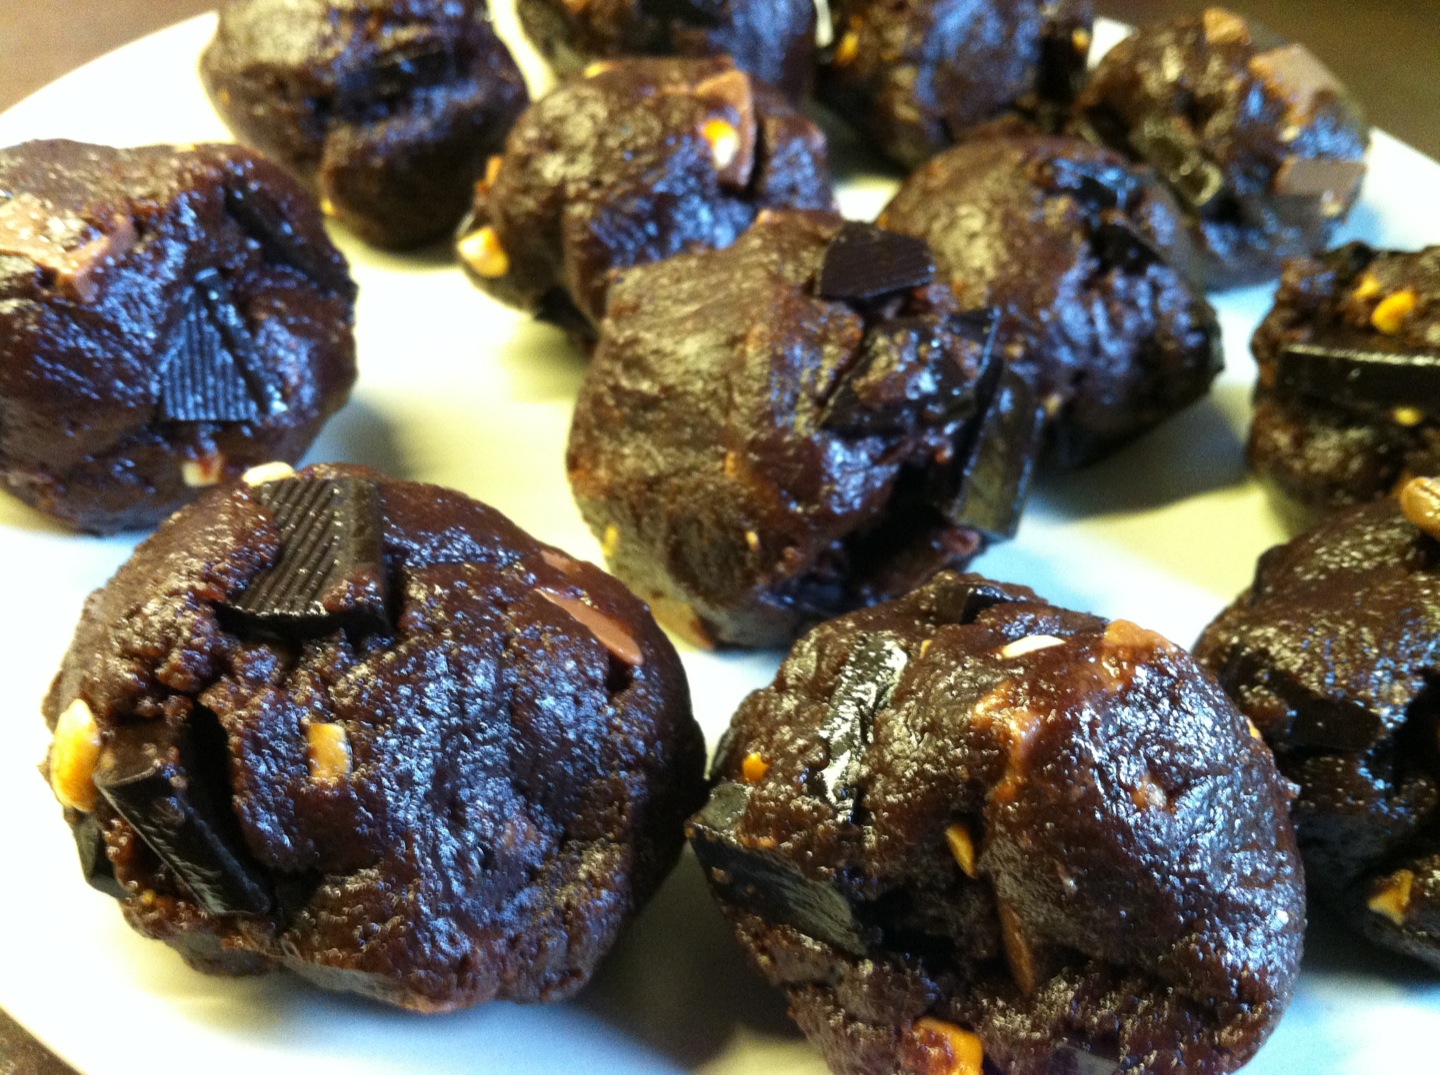
Buying organic ones can get pretty pricey and honestly I still have to find one that everybody in this house likes. Plus our kitchen and dining area is too small to have 4 big packs standing around. So I came up with the idea to do a basic Muesli with ingredients that we all like. And in the mornings everybody can mix their own little extras into their bowl and all are happy. Most mornings it is just a little cocoa powder, a few cranberries or maybe some small chunks of dark chocolate.


This is what I came up with, what works best for us.


Basic Muesli/Granola

4 cups porridge/oats flakes (the old fashioned ones, not the super fast microwavable ones)
8 cups of mixed flakes (mine have wheat, rye, spelt, millet, buckwheat, barley)
1/2 cup linseed
1 cup sunflower seeds
1/2 cup chia
1/2 cup sesame seeds
2 cups millet flakes
1 cup popped Quinoa
1 cup popped millet
1 cup oat-pops (look a little like Smacks but are not sweet)
2 cups cashew nuts
2 cups ground hazelnuts
1 cup almonds (whole or shredded)
1 tablespoon ground cinnamon
1/2 teaspoon ground cardamon
1/2 teaspoon ground clove
a fair bit of fresh ground nutmeg
1 teaspoon ground ginger
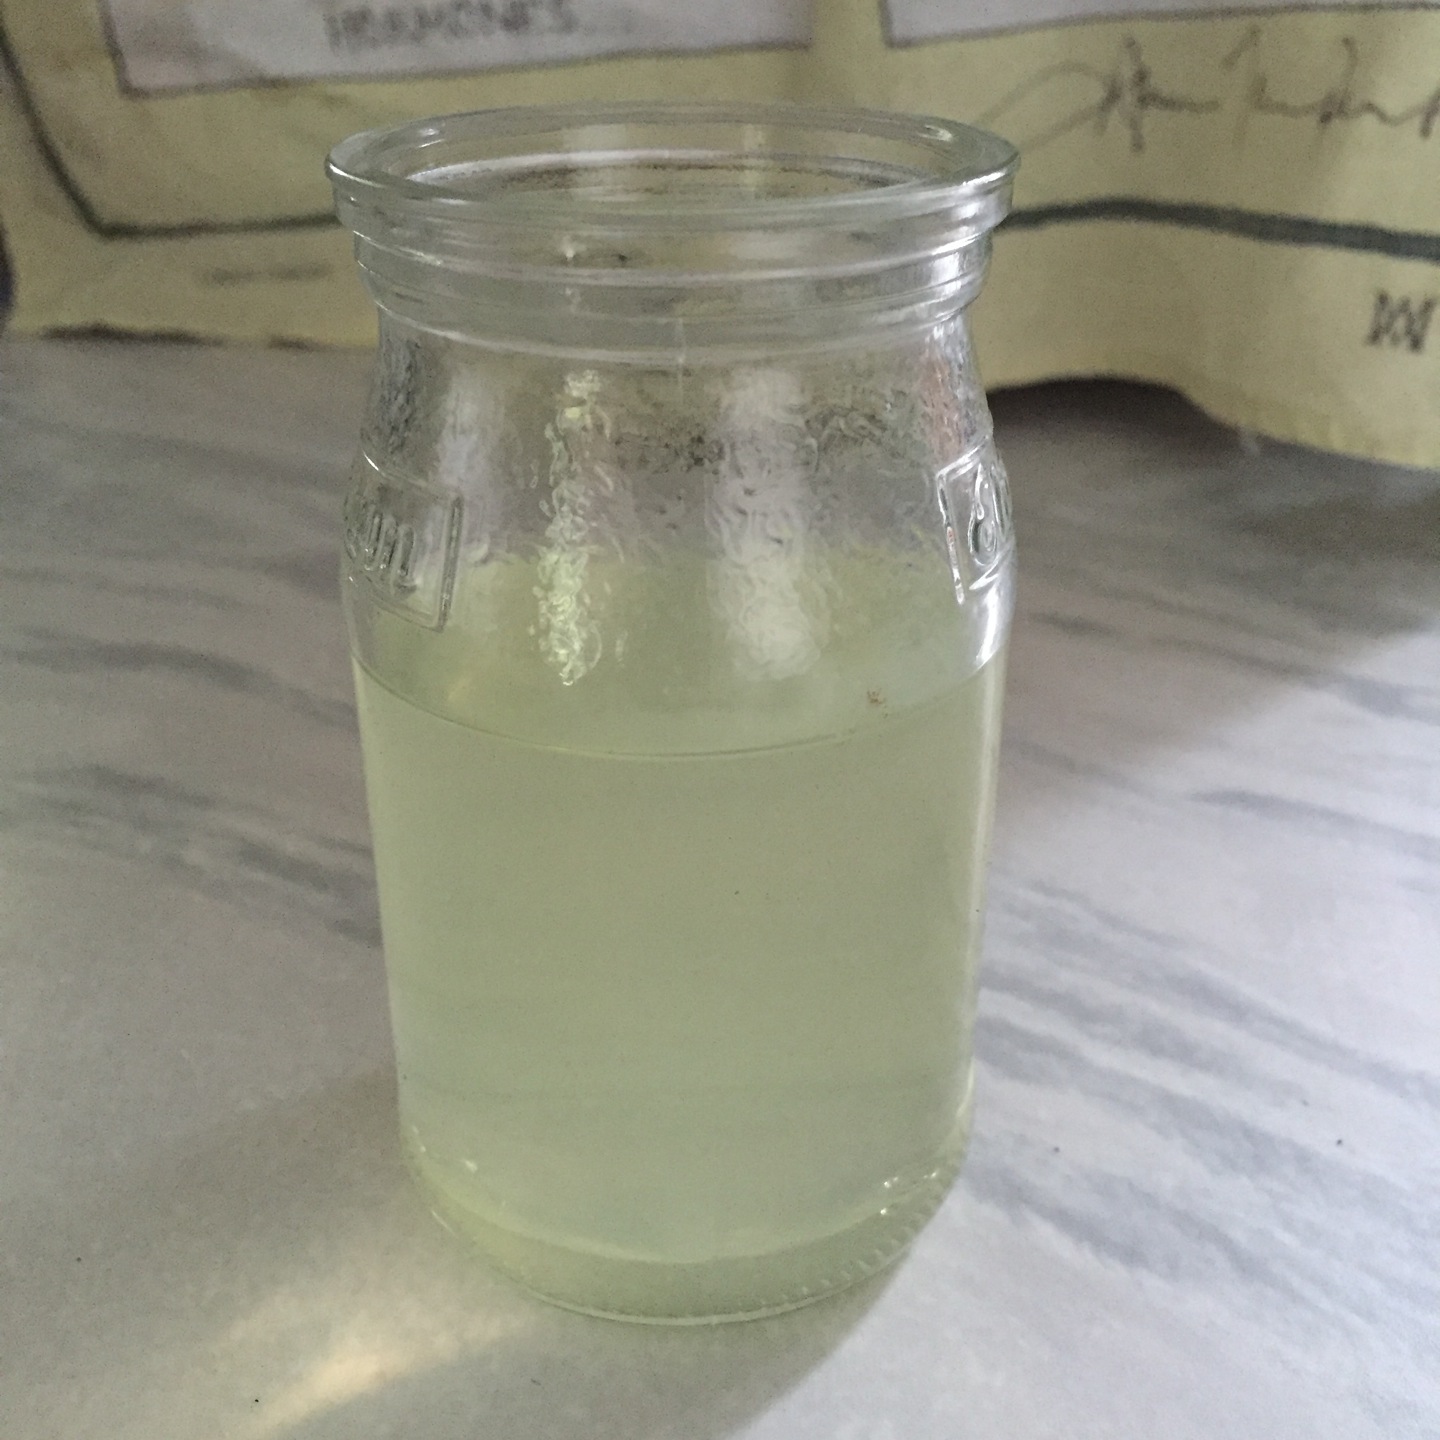
and 350-400 ml of our yummy homemade canned applesauce (it acts as a sweetener (here no one has the urge to add more sugar to it) and it also makes the crunchy bits, once it was baked in the oven)

Mix all well in the largest bowl you can find. I first mix all the dry parts with my hands, and add the applesauce in the end and mix it with a pair of salad spoons.
Spread thinly 2-3 salad spoons per baking tray. Do this for 3-4 trays, depending how many you can fit in your oven. Preheat oven to 150C/300F. Put in the first 3 or 4 sheets. Set timer for 10 minutes, then stir well and spread out thinly again. Bake for further 10 minutes. Feel the crunchy bits carefully. If they still feel the slightest bit moist bake a little longer. Otherwise fill hot into a canning glas or other air tight container (I would not use anything plastic!) I use the Ikea ones. They have been doing a great job for the past few years, and they are not very costly. Once you have enough trays baked that your Glascontainer is full, close while still hot! This way it will seal with vacuum.

The longest I have tested shelve life was 6 months and it was fine after that. Will it last longer? I guess yes, but I never got the chance to test it. I have been making this Muesli for about 3 years now. We now have 4 regular eaters and the amount won't last 2 months. So shelve life here is not really an issue anymore...
A little side note and out of my own experience... you know those rubber seals with the little pull-thingy on them to break the vacuum seal easier before opening the glas for the first time?

Make sure that is somewhere on the side and not caught under the back bracket! It is incredibly hard to get a proper grip of it to pull!

I very much like the taste of buckwheat, if you haven't tried it, do! Millet contains a lot of iron, Calcium and Vitamin B, but can taste a little bitter, so you might want to play around with the amount of flakes if you are not to gone on the taste!

You can now vary this basic Granola every morning to your taste, try adding dried fruit like apricots, dates also dried cherries and strawberries. Or if in season fresh fruit, or simply a banana and some cocoa... chocolate chunks... the possibilities are endless and help not getting fed up with it, even after 3 years....you can eat it the classic way with warm/cold milk, or try in yoghurt either natural or with flavour


September 18, 2013

Experimenting with Sourdough

For the past year, I have been baking all of our bread myself mostly using sourdough. I started my sourdough with this recipe. It was also my first bread baked. And for a beginner I can absolute recommend this! If you want to have a vegan sourdough, coconut yoghurt should work, too. I have also started a gluten-free sourdough the same way for my mom, and it worked like a charm. I used the regular white gluten-free flour you can buy in any shop. You might just make sure it has no added sugar in the ingredient list (I was rather surprised seeing it there, and I only looked, because once I baked something where I had to sieve the flour and I had all this sugar left in the sieve...surprise!) 


thats what the bubbles on a ripe SD look like


My first 3 attempts of sourdough died before the first 10-day-step was over. I mainly blame the very hot summer last year, and my kitchen basically had a room temperature of 32C and more as we don't have A/C.  But just in case I started steralising my utensiles (see below).

With todays experience I think I would recommend to either find a cooler room ( maybe you have a cellar?) or to wait until the weather changes if you face the same problem. Using the fridge is dodgy as you will not get the right bacteria started. The lactobacilli you want to grow prefer a temperature of 25-27C. Once you have established a stable culture you can slow their growth down in the fridge to keep your dough longer, but I don´t see how you can use the fridge to grow an entire culture!

There are also a few things you can do to help your dough to start:
Number One is Hygiene. The fork and the Tupper you want to use should be rinsed with boiling water first. Also a lid if that is what you want to use! You only have to do this when you get a SD started, once you have a stable culture you can just pull a tub and fork out of the cupboard because it is a lot more forgiving. 
Generally change your container every other day and later every second time you use it.

Lid or no lid? Reading a lot about SD I now know that the bread baking community seems to be split in those that use one and those that don't! Well my first 3 attempts were without one, ever since, I use one. My Mom uses just a towel on her gluten free one. So just do what works best for you and never mind what others say. Both have proofed to work for us!

The water quality is also very important. If your water has added chlorine, I would recommend using a filter! When using one of those water filters you should make sure they are not older then 4 weeks, as they too grow bacterias. 

In one of the discussions I read, that your sourdough also thrives on the germs you have in the air (coexisting with your Lactos). Which could be true, as I can see my dough change a lot when we travel! The best ever SD I had when we stayed in Tønder/Denmark! But it could also have just something to do with the quality of the water and flour used... while in Denmark we had water from a well which seemed untreated.

Smell your dough before using it, if it smells off or has any type of growth...well toss it and start again!

Once you have a stable culture I recommend to freeze about 70-100gr of it, in case you kill your little friend for what ever reason, you have a fallback and don´t have to start the whole process again. Getting a frozen culture started to the point where you can skip the yeast as an ingredient takes about 2-3 days and not ten!


So this is what you need to get started:
Day 1:
50 gr flour 
2 tbsp natural yoghurt
50 gr water
stir well with fork

Day 2 add:
100 gr flour
80ml water
stir well with fork
(you want a dough that will form and is not too liquidy. So if it seems to dry add water if it flows off your spoon add flour)


I hope you can see, what kind of consistency you are aiming for in these pictures.

Day 3 add:
see Day 2

Day 4:
you can take out 200 gr of your dough and either use it (but add some yeast when baking with it) or toss it. I prefer the use it part!
then add your
100 gr flour
80ml water
stir well with fork

Day 5-10:
see Day 4

Day 11:
today is the first day I would see if you can bake without adding yeast! I find sourdough needs a lot longer to rise then yeast, so best is to let it rest over night and bake in the morning. 

From now on you can feed your SD roughly every 4-5 days and after 12-24h in a warmer location store it in fridge, and just use as needed.

I still bake a good bit with yeast, mainly in combination with sourdough. As I usually am in a hurry and have not got the time to let a dough sit for hours. In these cases I see the SD more as a natural preservative. As the bread baked with it, will not dry out as fast, as one just baked with yeast. But there are a few recipes I will show you in other posts like Breads and bread rolls that need no yeast what so ever, rise beautifully and you let them sit over night, and just shove them into a preheated oven in the morning and voila amazing breakfast to have!

Ok so now we have established the basics here are some recipes to look forward to:
breads in all variations, wheat and or rye bread sticks, Brack and other fruit breads (one of my favorites is a cranberry-pecan-nut-bread) SD-Pancakes and SD-Pizzadough and and and....


September 16, 2013

Gluten-free Peanutbutter-Nutella-Double-Choc-Chip Cookies

There are quiet a few recipes floating the net for PB-Cookies without flour. Some have bananas in them. Some just lots of sugar and PB. All the recipes looked so strange to me. And I could not understand how this dough would actually form into a cookie later...So I had to give it a try! Now it actually makes sense. You can use almond or coconut flour as a flour substitute, so why not peanuts?


Sorry for the bad quality of all the pictures, but this 85% dark chocolate really screws them up.  They either look burned w/o flash (which they aren't) or well like the above if I use flash.. :-/

I have quite a number of coeliacs in my family and a PB addicted father, so next time I am home I am going to treat my family to these!

I didnt have that much PB left so I created my own and came up with this:

Add all the following in a bowl and mix well:

1/2 cup smooth PB (good quality)
1/4 cup crunchy PB (good quality)
1/3 cup Nutella
1 cup brown sugar
1 TABLESPOON Vanilla extract (jip you read right! since I started making my own I go big, because I just love the taste so much )
1 pinch of salt (depending on how salty your PB is)

then gently fold

110 gr 85% choc chips
80 gr. dairy choc chips

into the dough


refrigerate for at least 1,5h or over night

form little balls out of approximately 2-2,5 tbsp. of dough, put on plate and back into fridge.
preheat oven: 175C/350F once oven is hot (10-15 min) take your plate out of fridge, place balls quickly on backing paper or silicone sheet, stick in oven and bake for approximately 7-10 min.


once you take them out, they look very soft and are pretty fragile, just leave them on sheet for 10-15 min to set and cool, then shift them carefully onto a cooling reck.


I took 85% dark choc. While I love it, it might be a bit bitter for some. Even though there is a whole cup of sugar in these they actually are not very sweet. I can see them taste very well with just dairy choc or white choc, too! Oh and maybe a white chocolate and cranberry....hmmm I think they are next!!

If you eat them after just a small cooling period, they are lovely and gooey, the longer you keep them the firmer they get...over all they are very yummy and got a five star rating in this house!

I also made a cookie sandwich with Ben and Jerry´s Strawberry cheesecake...OMG just do it! Go treat yourself! Unfortunately it was gone before I thought of making a photo :-P

I hope you enjoy them as much as we did!


July 24, 2013

Homemade Vanilla Extract


I moved to a country that up until a few months ago had zero vanilla extract. And now only has tiny 20 ml bottles artificial Vanillin for 2 €. With the amount of baking and desserts that are made in this house, this was becoming ridiculous and I wasn't very happy using the artificial stuff. So imagine how happy I was when Pinterest was showing this post.

So here is what I did:

I snuck into my husbands liquor cabinet and nicked his best vodka bottle. A big offense in itself, as this is his favorite. I will blame it all on averiecooks.com. She said it pays off, if you use best quality. And I can only agree!

So I filled the following into a bottle:
250ml (10 floz) of hubbies best vodka
6 vanilla bean pods sliced lengthwise.

And now you gotta be patient for 2 months and shake the bottle every now and then. As I have parked my bottle on a top shelf in the kitchen to keep it out of the way, I honestly don't think of it that often. The bottle is lucky if it gets my attention once a week, but then I do shake it pretty vigorously to make up for all the times I forgot about it.

And now I have top quality for under a €uro /20 ml and it is not artificial.

I hope this will help you as much as me.


March 05, 2011

Cranberry-Oatmeal-Cookies Part 1


A few months back my Husband went on a business trip to Portland and Seattle, and he brought back those absolutely amazing cranberry-and-oatmeal cookies. Seriously, I have not tasted anything like it. Now one could argue it was, because I was pregnant at the time, but I think if I tasted them now they would be just as yummy!

Anyway I wanted to try to make some myself ever since. This is my first attempt. They tasted good, but not yet up to the high standard these portland/seattle ones set. So there will be at least one more try...


I had one for breakfast this morning when I took the dog out. I have gotten into the habit of bringing my cup and a cookie or muffin with me every morning. This often seems to be the most peaceful meal of my day, even though I am out walking. Anyone who ever stated kids where no full time job LIED (or is lucky to have one of these (boring?) babies, that do nothing but sleep and feed all day/night ;-) )


This is how I made them:
Sieve into big bowl:
2 cups of plain flour
1/2 tsp salt
3/4 tsp cinnamon
1/3 tsp nutmeg
1/2 tbsp baking powder
1/2 tbsp baking soda
and mix well and set aside

take another bowl, melt
125gr of butter
mix with
3/4 cups of brown sugar and

1/2 cup of white sugar

take a cup and whisk:

2 tsp vanilla essence,
2 tbsp milk and

2 medium eggs


mix content of cup in with content of bowls. Mix well. Add
2 cups non-crunch-choc-chip-and-oats muesli and
1 cup of cranberries


make half hand palm sized little flat balls and leave on baking sheet. Make sure you leave enough space between each one of them. I had two sheets of cookies in the end.

Preheat oven to 180°C/325°F and bake them for 12-15 min. The edges should be golden.