August 28, 2016

Homemade Vanilla Sugar

Homemade Vanilla Sugar, it is so easy, you will be kicking yourself for having bought the expensive one all those years! It is as simple as my Vanilla extract I posted years ago.

Most commercial Vanilla sugars, don´t really have true vanilla but Vanillin. I added a Wiki link in case you want to find out more about Vanillin. For the ones that have the real vanilla in it, you pay 3-4 times the prize. All Vanilla sugars you can buy here, have the white refined sugar that has been bleached and sometimes contains anti caking agents, all things which I try to avoid (BTW it is the same for salt). I try to stick with raw cane sugar, without additives.  


Here is what you need:
for 500 gr sugar you need
6-7 pods of vanilla
You recognise a good quality pod by its shiny and oily coat.

Cut it length wise in half. No need to scrape out the mark.


Put in your storage container (preferable glas, airtight seal).


Fill the jars with the sugar

Seal and shake it, Baby! Shake it for a good minute.

Store cool and dark for at least 6-8 weeks better 3 Months. Every time you pass your storage, you give the jar a good shake. You can use the sugar as it is or if you have a food processor turn it into powdered sugar. You can put the full pod in and process it with the sugar.
What to use it in:
baking
smoothies, if needed
pudding
custard
and in this heat, foremost ICE CREAM!
The very fine sugar (like icing sugar) that you get after processing it in the food processor is far better if you make ice cream without an ice cream maker. As your ice cream will have less crystals.

And because Christmas is coming up faster than one thinks I made double the amount.

What is your most favourite recipe with vanilla sugar?


August 22, 2016

Home-Made Cream Cheese with the bonus of getting some fresh Whey


Making your own cream cheese is so simple and tastes so good, you will never want to go back to the bought one! And I dare say you have all the ingredients at hand. As this does not require anything fancy like rennet. All you need is yoghurt and some salt.

Making your own has many advantages. Because you use your own yoghurt you control the amount of fat yourself (mine has 3,8% as that is what fat the milk has that I use for making our yoghurt), same for the amount and the type of salt. Lets say you suffer from Hyperthyroidism (use salt, that has no iodine) or heart disease (use less to very little salt). I am also pretty sure you could make this vegan by using a vegan type of yoghurt but I haven't tried it myself.

You need something to use as a cheesecloth. Either a real cheese cloth, which I don't like! It is too much waste for my environmentally friendly taste. I use either thinnish kitchen towels or my by now not anymore needed Burp clothes. It is a great way to recycle (or is it an up-cycle?) these Burp-clothes.
After use I rinse them out, let them dry and then collect them for a hot-hot wash (95C) with washing powder and ACV (apple cider vinegar).

You also need a jug that is preferable not plastic and big enough to hold at least 700 ml volume.

Now line your jug with your Cloth, if it is a very thin cloth, but big enough consider folding it and use it double. Make sure you have enough excess material at all sides of the jug, so you can tie it later without the yoghurt squirting out the sides!

Now spoon 2 jars (each approximatly 200gr) of cold! natural yoghurt (here is a recipe for homemade yoghurt) into the cloth. Gather the ends not too tight, but short enough that there is at least 2 cm space below the hanging cheese cloth construct to let the whey drip out. Make sure at all times that the whey does NOT reach the bottom of your cloth! The most dripping will happen in the first 2h. I usually leave it for a while on the counter and pour the fresh whey straight into a little bottle.
this is the construction that works best for me. I started with a rubber band and a spoon to tie it up, but I find the clip works best, as it just fits over the rim of my jug.

Whey gathered and refilled 

Once it slows down dripping I put it into the fridge for 24h. After that scratch it out of your cloth into a bowel and add about 1/8-1/4 teaspoon of salt to taste ( I have seen up to one teaspoon in recipes, which I tried at first, but I found that it is way too salty). Now my husband (and some of our guests agree with him) wants me to stop here, as he likes his cream cheese creamy and soft. If you feel the same way about the consistency of your cream cheese, fill it into a jar and enjoy.
But, if you like it firm and crumbly get out a fresh cloth and line a very small bowl just big enough to hold the contents of your cream cheese mass. Fill the cream cheese into the cloth lined container. Cut out a piece of card board just a small bit smaller than the opening. Fold the cloth closed tight over the cheese. But your piece of card board on top and then go find some weight that fits on top and pushes the whole shebang down and is not any wider then the opening of your tiny bowl (I used to fill a yoghurt jar with water and screw the lid on and leave it on top of the cream cheese. refrigerate your construction for another 24h. scrape out of cloth into a fresh jar with screw-on lid and enjoy!

The whey contains a lot of the milks protein. I use it mainly for baking bread, but I also used it to start a ginger bug, in smoothies and as a treatment for powdery mildew on my courgettes/zucchinis and pumpkins plants.


August 17, 2016

Let´s talk Mirabelle plums! We harvested 18 kg this weekend and preserved them in various ways.


Mirabelles (I added a link as I have recently learned that they are banned in the US right up there with the Kinder Surprise Eggs and Hagis. Who would have thought?! )


These little plums the size of a yellow cherry taste divine!


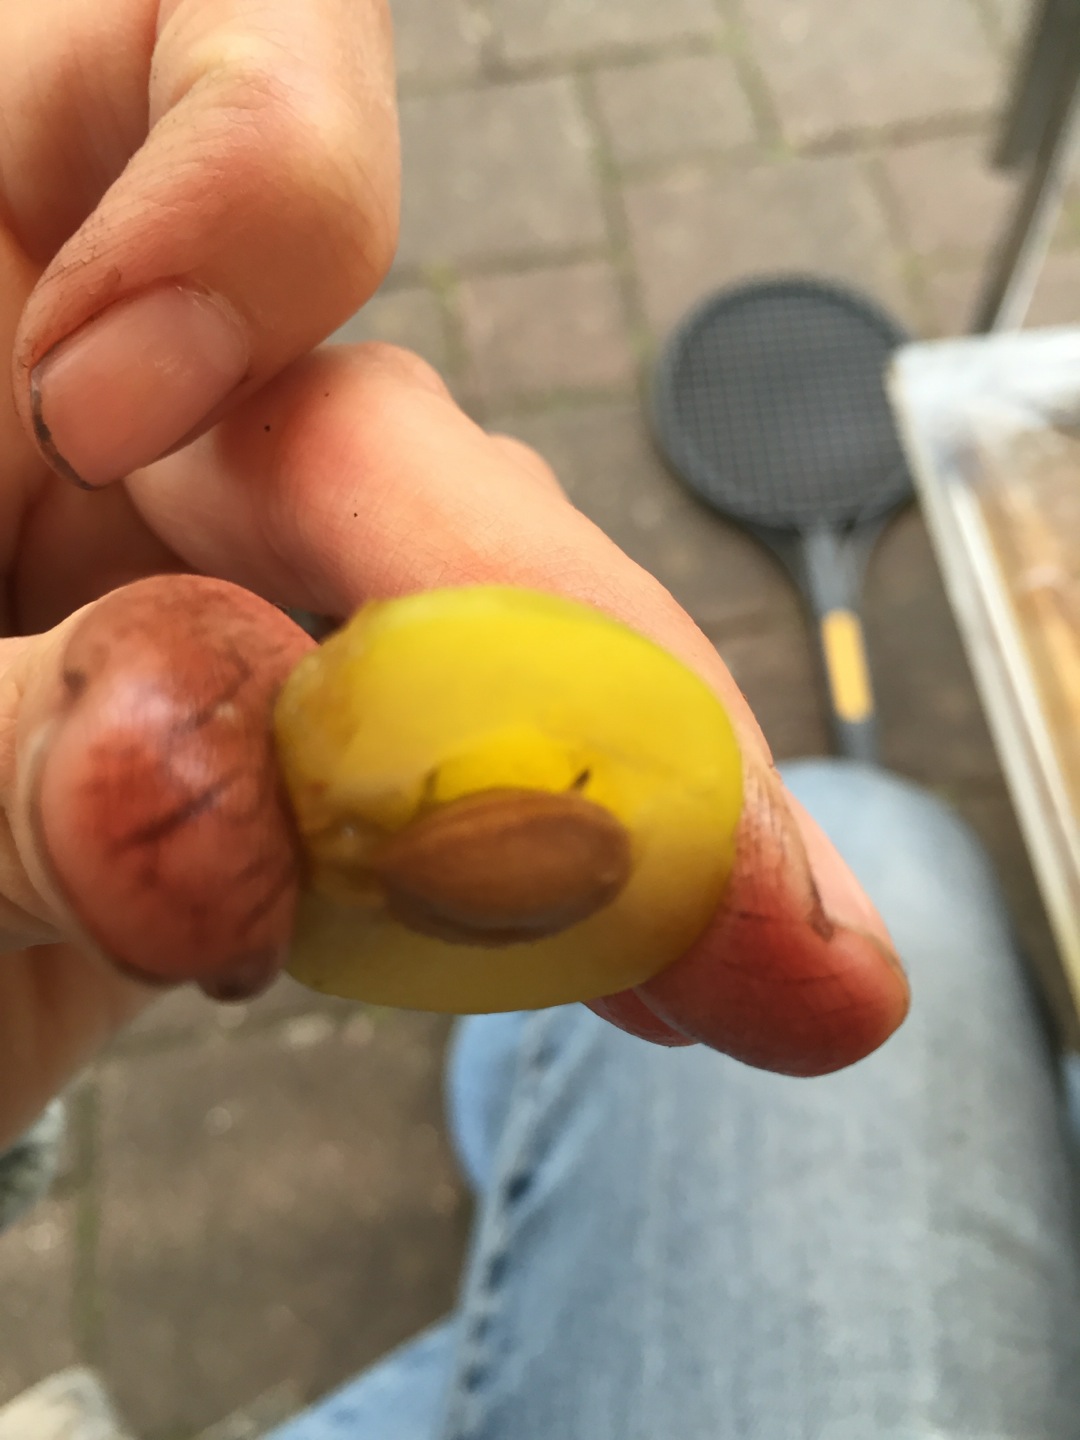
Pitting them can be a bit of a chore, if you do it with a little knife like us. The stone comes out a bit easier if you cut a long the line shown in the picture.


And here comes a public service announcement: USE A STAINLESS STEEL KNIFE! If you do not you will have a reaction between the metal in your knife and the acid in your fruit and your fingers will look like mine for a week or longer....Or if you do use that old granny knife in your drawer, just because it happens to be the sharpest in there....well, make sure you are not meeting people for the next week, you´ll get some queer looks or be smart enough and wear gloves....!


Back to the Topic: I read online that if you have a cherry pitter you can use it, but I have not tried this and I believe it will only work if the Mirabelle plums are super ripe!

Every now and then you find a little added 'protein'! You better not be squeamish, as these move faster than you think!


Here are some of the recipes we made this weekend:

Mirabelle Jam
Prepare your jam jars! Either boil them and the lids separated (as in open jar) in a big saucepan full of water for a few minutes, or boil your kettle and fill up the jars and lids with boiling water and let stand for a few minutes. This is the method I have been using for decades now. I have never had a glas break on me while filling it up with the billing water, but I know that that is a fear for some. I once read that you need to do this on either a glas top or a wet towel to avoid this to happen. I have them stand on my ceramic hob which seems to work just fine. It also usually has spilled water on it, which probably helps here, too.

Then empty lids without touching the inside (I just use a big pair of BBQ tongs) and then fill one lid with Vodka. Pour the Vodka from one lid into the  next, until you have them all disinfected. And again without touching the inside! Once the last lid is disinfected I just pour the vodka into the boiling jam.

for 1 kg of pitted and halved fruit you will need
500 gr of gelling/jam Sugar (the one that has citric acid and pectin and you can use a 2:1 ratio of fruit:sugar)
and 1-2 teaspoons of lemon juice (optional)
mix well and let stand for an hour in saucepan with lid (the sugar will drain some of the juice out of the fruit in this time) (if you are in a hurry you could also just add a little water or juice and start boiling immediately)
Bring to boil and let boil at full and while stirring for about 5 min. Then whizz the fruit mix until no 'lumps'. pour straight into jam jars (I use a wide mouthed funnel to help with the spillage) and screw the lid on tight, then turn them up side down and let cool in this position. Label and store cool (as in cellar)


I love my Jam with a bit of cream cheese instead of butter. A recipe for homemade cream cheese will follow soon.

Mirabelle & Blackberry Jam
prepare Jam jars as above
for 500gr of Mirabelles pitted and halved and 500 gr of Blackberries
add 500 gr of jam  sugar (see above)
1-2 teaspoons of lemon juice (optional)
 Proceed as above!


Mirabelle and Lemon Jelly 
This stuff is seriously good!

Prepare Jars as above!

Juice 3 kg of Mirabelles in whole just washed (I use one of those saucepans where you boil the fruit and the juice comes out of a nozzle at the bottom) but I am sure you could use a regular juicer too.


mushing the fruit with the potato masher helps speed things up


add the juice and Zest of 4 Lemons

200 ml of orange juice

Weigh the mix and
add half the amount in grams of jam sugar (in my case a little over a kilo of sugar)
also add 3 cinnamon sticks 
and 5 cloves
now boil until it thickens. Make sure your saucepan is big enough as the mix can get a bit foamy and bubbly when boiling. Fill in Jars and proceed as above!
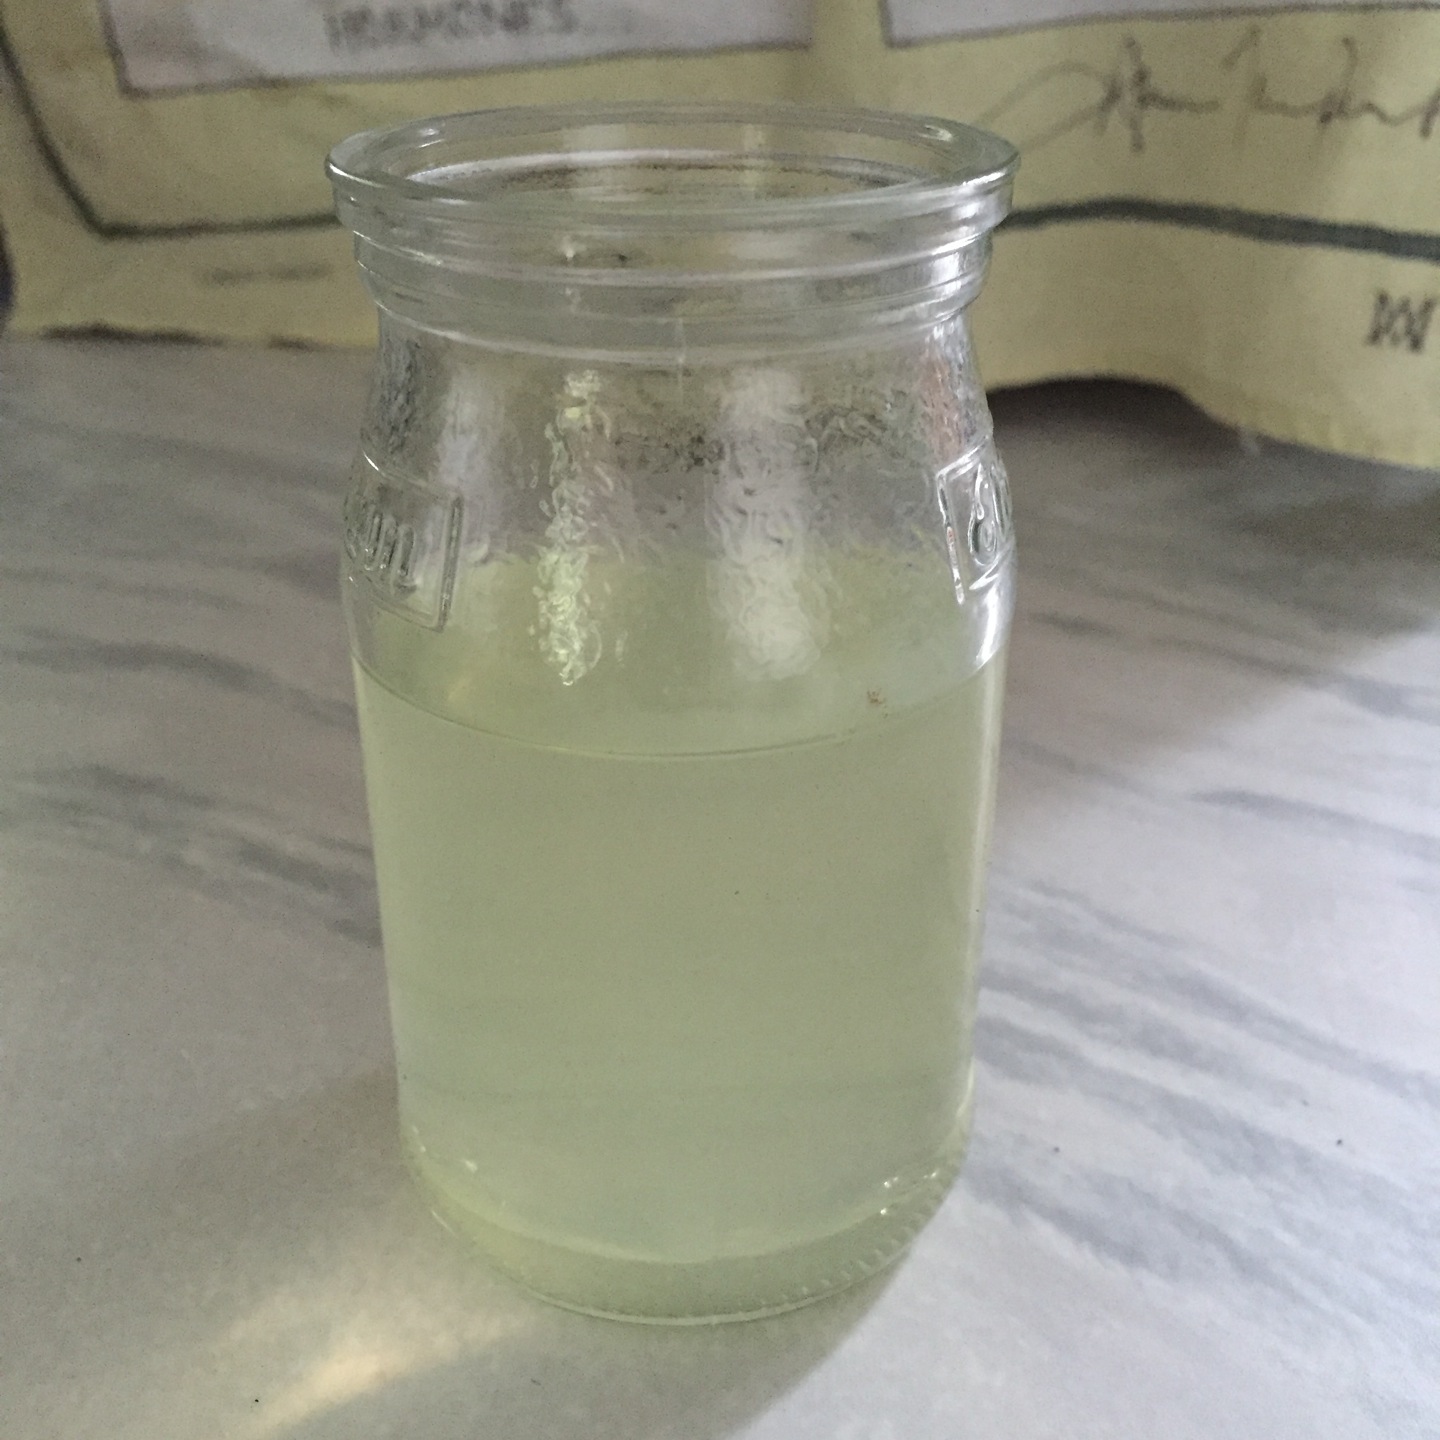
Mirabelle Gin

Get big wide mouthed glas jar and prepare as above.

Wash 250 gr Mirabelles very well. Then pour some boiling water over them. Drain immediately.
Now layer the Mirabelles with
125 gr rock candy (if you use brown rock candy the gin will get brown!)
Stick half a stick of cinnamon in the middle and pour
Approximately 250 ml of gin over the mix.
The fruit should be well covered.


Screw lid on and shake well! Store in dark cool place for 4-6 weeks. Every time you pass give it a good shake. After this time you should be able to enjoy it. (obviously we haven´t tried our own yet as the mix is only four days old so far but we are very hopeful)

Canned Mirabelle halves

prepare jars as mentioned above

Wash Mirabelles very well, half and stone, fill in sterilised jars and prepare canning liquid.


canning liquid:
for 1 kg of fruit
use 300 gr of jam sugar (see above)
and 1 litre of water
add 1 cinnamon sticks
and a 1-2 cloves to taste.
Bring to boil and let simmer for a few minutes. Remove cinnamon sticks and cloves and pour hot over fruit. Immediately screw on lids. Put all your jars in a big water bath canner or in my case a huge saucepan and bring to boil. Boil for 30 min.


Let cool on a cooling rack and make sure all lids have popped inwardly. Otherwise they won't keep and can even be dangerous to consume (Botulism would be your biggest fear) if any of your jar lids, even after cooling down, did not have their lids plop inwards store in FRIDGE and consume immediately!

Mirabelle sauce

Prepare jars as above.

Wash and stone 3,5 kg of Mirabelles.
Add 1 tsp of ground cinnamon and
1 tsp of ground cloves.
Add 50 ml rum and
300 gr brown cane sugar (I prefer raw)
Mix well and let stand for a good hour. The Sugar will draw the juice out of the Mirabelles, this way you don´t have to add any extra liquid. After this bring to boil and boil on medium heat with no lid while stirring every few minutes, until there isn't too much liquid left (took me 2h). Whizz it into a homogene mass. Pour boiling hot into your prepared jars (funnels help reducing the mess! They also keep the rims of the jars clean) Close straight away and then boil in water bath as described above. Please check those lids before you stack them in your shelves.


Store your canned goodies cool and dark and before you store them wipe them all clean.
Before consuming any canned product you should check those lids again, and when opening them the first time you want to hear this hissing noise and a plop. this shows that there was a vacuum in the jar all the time you stored it!  Check for discolouration and signs of mould. Only then is it safe to eat! I only ever had a handful of jars turn mouldy, these would have been ones were I worked sloppy hygiene wise. Either not wiped clean enough or the rims of the glasses had spilled jam on them, here those funnels come in really handy!

We also halved, stoned and cleaned several kilos and just froze them. So if you have any more ideas let me know! Thank you for any input!


August 11, 2016

super fast to make sugar and gelatine free healthier jelly bears for your kids or yourself


200 ml orange juice (fresh pressed is more yummy, but from the pack will do just fine)
1 teaspoon of lemon juice (again fresh juiced would be better)
1 package of agar agar/ agartine (10gr)
1-2 tablespoon Honey or any other sweetener of your choice.You could easily make them vegan with rice syrup or agave syrup. I could imagine maple syrup having a bit of a too strong taste, but I have not tried it.

Heat up juice and dissolve honey in it.
Whisk in agar agar.
Whisk until all dissolved.
pour into forms. I used silicon form. If you do so learn from my past experience and put a cutting board underneath.
Chill for about an hour and then dig in. They will be a bit glibbery to the touch, but taste awesome. Even my mom who despises anything sweet, loved them and had not just one, but a few! They supposedly last a week to 10 days in the fridge but they didn't even make it to day 2 in our house as they where all gobbled up in no time.

You can make them in other colours by using different coloured juice/fruit purees. The only no go is pineapple as it won't work.

If you tried an esp. nice tasting  fruit/colour please let me know. Or if you have an idea that makes them less glibbery.

August 09, 2016

Homemade Yoghurt


Homemade yoghurt is so easy and my base for so many other homemade basics.
All you need is two ingredients.
1 litre Milk (I have also made this with coconut milk, which makes great baby food or you can use single cream for greek style yoghurt)
1 cup of organic natural yoghurt with live cultures.

Bring your milk to boil in a saucepan, stir often and do not walk away! Once it has boiled for a good two minutes, put saucepan to side and let cool to roughly 37-40C (it has to be below 42C, otherwise you kill your cultures if you add the yoghurt while still too hot!) To check the temperature without a Thermometer just use your clean finger, if it feels very hot, wait, if it feels just a tiny bit hotter than your finger, go ahead!

I have an old early 80s yoghurt maker that I got second hand, but my MIL makes her yoghurt in a saucepan, so I´ll give you both methods.

There are different type yoghurt makers, ones with several little glasses, and ones with one big one.
Mine has 6 little glasses, that hold together 1 litre of yoghurt. In each of those glasses I put 2 teaspoons of yoghurt, fill them up with the milk once it has reached 37-40C and stir well.  Screw lid on and put in yoghurt maker. Set for at least 12 h. After finished refrigerate. They keep for 2-3 weeks. When using save the last yoghurt to make new yoghurt, and just proceed like above. You will never run out of yoghurt and get 6 organic homemade yoghurts (if you use organic milk and starter yoghurt) with no additives for the price of a litre milk.
Yoghurt can be your base for so many things. I make our cream cheese out of it, and as a side product get homemade whey. Which you can use for starting your own ginger bug for soda making or use it for bread baking. I use yoghurt for a salad dressing that will keep a week in a screw jar in the fridge, as a dessert, or in ice cream... Really the list is endless!

If you have no access to a yoghurt maker you could make it my MILs way. You let the milk cool down to just under 40C and leave it in the sauce pan add your cup of yoghurt and stir well. Put the lid on the saucepan and wrap it in big towels and Blankets (lid and all around) and leave it on a heater or other warm but not too hot place over night ( roundabout  12 h).