September 18, 2013

Experimenting with Sourdough

For the past year, I have been baking all of our bread myself mostly using sourdough. I started my sourdough with this recipe. It was also my first bread baked. And for a beginner I can absolute recommend this! If you want to have a vegan sourdough, coconut yoghurt should work, too. I have also started a gluten-free sourdough the same way for my mom, and it worked like a charm. I used the regular white gluten-free flour you can buy in any shop. You might just make sure it has no added sugar in the ingredient list (I was rather surprised seeing it there, and I only looked, because once I baked something where I had to sieve the flour and I had all this sugar left in the sieve...surprise!) 


thats what the bubbles on a ripe SD look like


My first 3 attempts of sourdough died before the first 10-day-step was over. I mainly blame the very hot summer last year, and my kitchen basically had a room temperature of 32C and more as we don't have A/C.  But just in case I started steralising my utensiles (see below).

With todays experience I think I would recommend to either find a cooler room ( maybe you have a cellar?) or to wait until the weather changes if you face the same problem. Using the fridge is dodgy as you will not get the right bacteria started. The lactobacilli you want to grow prefer a temperature of 25-27C. Once you have established a stable culture you can slow their growth down in the fridge to keep your dough longer, but I don´t see how you can use the fridge to grow an entire culture!

There are also a few things you can do to help your dough to start:
Number One is Hygiene. The fork and the Tupper you want to use should be rinsed with boiling water first. Also a lid if that is what you want to use! You only have to do this when you get a SD started, once you have a stable culture you can just pull a tub and fork out of the cupboard because it is a lot more forgiving. 
Generally change your container every other day and later every second time you use it.

Lid or no lid? Reading a lot about SD I now know that the bread baking community seems to be split in those that use one and those that don't! Well my first 3 attempts were without one, ever since, I use one. My Mom uses just a towel on her gluten free one. So just do what works best for you and never mind what others say. Both have proofed to work for us!

The water quality is also very important. If your water has added chlorine, I would recommend using a filter! When using one of those water filters you should make sure they are not older then 4 weeks, as they too grow bacterias. 

In one of the discussions I read, that your sourdough also thrives on the germs you have in the air (coexisting with your Lactos). Which could be true, as I can see my dough change a lot when we travel! The best ever SD I had when we stayed in Tønder/Denmark! But it could also have just something to do with the quality of the water and flour used... while in Denmark we had water from a well which seemed untreated.

Smell your dough before using it, if it smells off or has any type of growth...well toss it and start again!

Once you have a stable culture I recommend to freeze about 70-100gr of it, in case you kill your little friend for what ever reason, you have a fallback and don´t have to start the whole process again. Getting a frozen culture started to the point where you can skip the yeast as an ingredient takes about 2-3 days and not ten!


So this is what you need to get started:
Day 1:
50 gr flour 
2 tbsp natural yoghurt
50 gr water
stir well with fork

Day 2 add:
100 gr flour
80ml water
stir well with fork
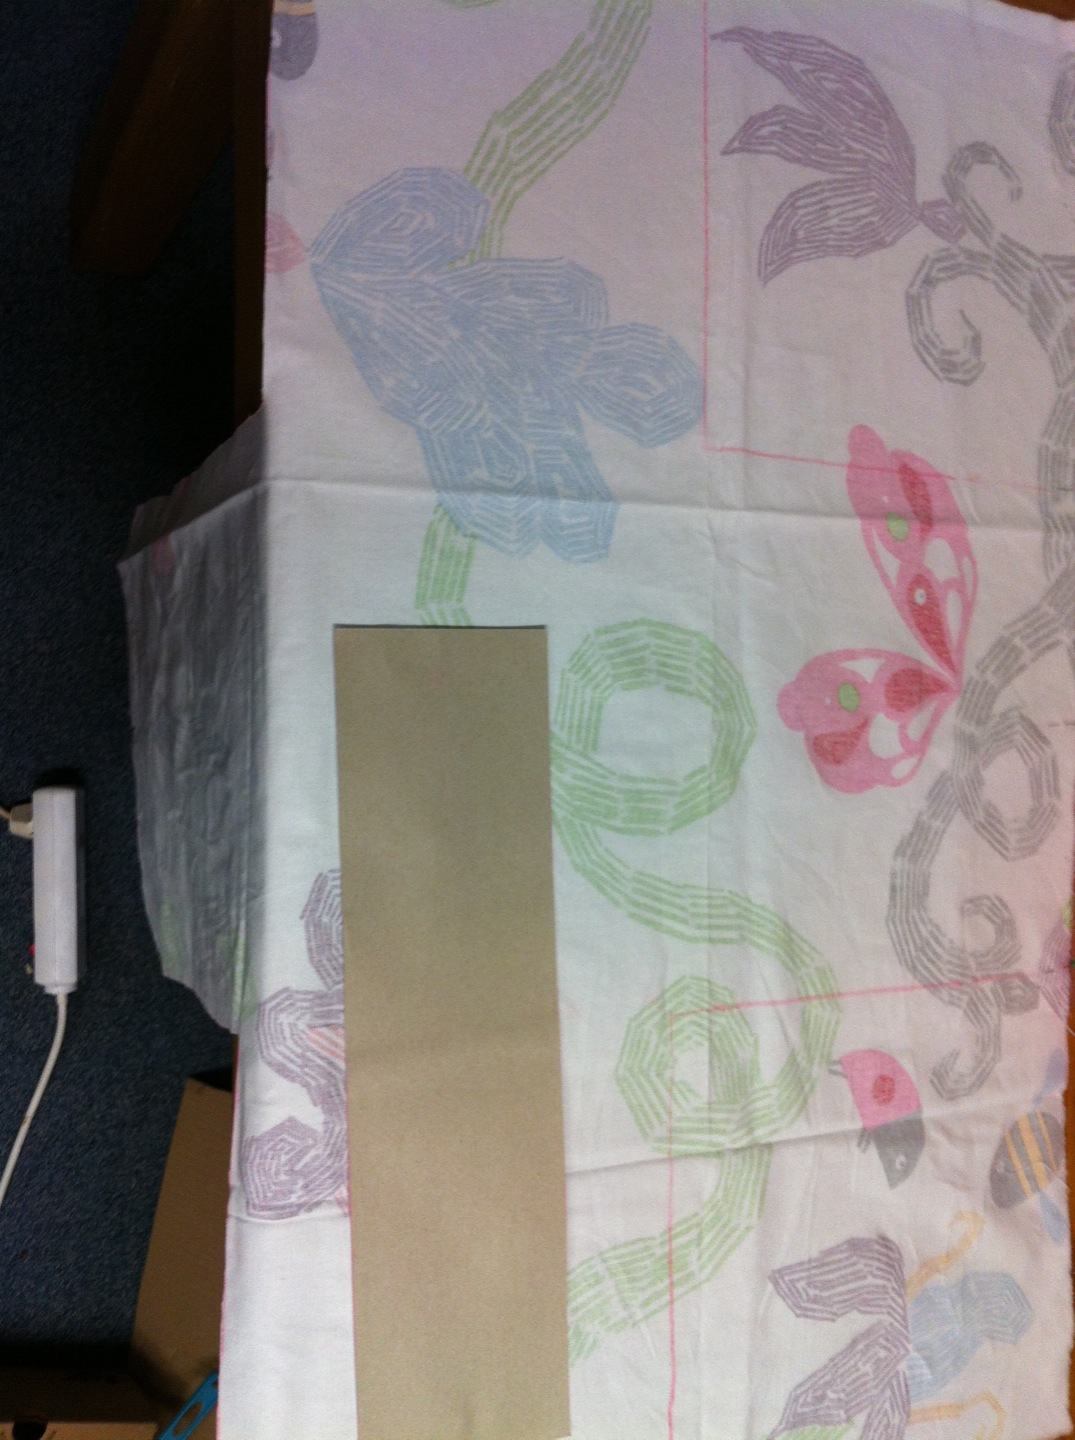
(you want a dough that will form and is not too liquidy. So if it seems to dry add water if it flows off your spoon add flour)


I hope you can see, what kind of consistency you are aiming for in these pictures.

Day 3 add:
see Day 2

Day 4:
you can take out 200 gr of your dough and either use it (but add some yeast when baking with it) or toss it. I prefer the use it part!
then add your
100 gr flour
80ml water
stir well with fork

Day 5-10:
see Day 4

Day 11:
today is the first day I would see if you can bake without adding yeast! I find sourdough needs a lot longer to rise then yeast, so best is to let it rest over night and bake in the morning. 

From now on you can feed your SD roughly every 4-5 days and after 12-24h in a warmer location store it in fridge, and just use as needed.

I still bake a good bit with yeast, mainly in combination with sourdough. As I usually am in a hurry and have not got the time to let a dough sit for hours. In these cases I see the SD more as a natural preservative. As the bread baked with it, will not dry out as fast, as one just baked with yeast. But there are a few recipes I will show you in other posts like Breads and bread rolls that need no yeast what so ever, rise beautifully and you let them sit over night, and just shove them into a preheated oven in the morning and voila amazing breakfast to have!

Ok so now we have established the basics here are some recipes to look forward to:
breads in all variations, wheat and or rye bread sticks, Brack and other fruit breads (one of my favorites is a cranberry-pecan-nut-bread) SD-Pancakes and SD-Pizzadough and and and....


September 16, 2013

Gluten-free Peanutbutter-Nutella-Double-Choc-Chip Cookies

There are quiet a few recipes floating the net for PB-Cookies without flour. Some have bananas in them. Some just lots of sugar and PB. All the recipes looked so strange to me. And I could not understand how this dough would actually form into a cookie later...So I had to give it a try! Now it actually makes sense. You can use almond or coconut flour as a flour substitute, so why not peanuts?


Sorry for the bad quality of all the pictures, but this 85% dark chocolate really screws them up.  They either look burned w/o flash (which they aren't) or well like the above if I use flash.. :-/

I have quite a number of coeliacs in my family and a PB addicted father, so next time I am home I am going to treat my family to these!

I didnt have that much PB left so I created my own and came up with this:

Add all the following in a bowl and mix well:

1/2 cup smooth PB (good quality)
1/4 cup crunchy PB (good quality)
1/3 cup Nutella
1 cup brown sugar
1 TABLESPOON Vanilla extract (jip you read right! since I started making my own I go big, because I just love the taste so much )
1 pinch of salt (depending on how salty your PB is)

then gently fold

110 gr 85% choc chips
80 gr. dairy choc chips

into the dough


refrigerate for at least 1,5h or over night

form little balls out of approximately 2-2,5 tbsp. of dough, put on plate and back into fridge.
preheat oven: 175C/350F once oven is hot (10-15 min) take your plate out of fridge, place balls quickly on backing paper or silicone sheet, stick in oven and bake for approximately 7-10 min.


once you take them out, they look very soft and are pretty fragile, just leave them on sheet for 10-15 min to set and cool, then shift them carefully onto a cooling reck.


I took 85% dark choc. While I love it, it might be a bit bitter for some. Even though there is a whole cup of sugar in these they actually are not very sweet. I can see them taste very well with just dairy choc or white choc, too! Oh and maybe a white chocolate and cranberry....hmmm I think they are next!!

If you eat them after just a small cooling period, they are lovely and gooey, the longer you keep them the firmer they get...over all they are very yummy and got a five star rating in this house!

I also made a cookie sandwich with Ben and Jerry´s Strawberry cheesecake...OMG just do it! Go treat yourself! Unfortunately it was gone before I thought of making a photo :-P

I hope you enjoy them as much as we did!


September 09, 2013

Dressing up Nappy Boxes or any other cardboard box


I was finally fed up with all the big boxes of toys in our living room, and made some space in our Billy shelf with doors. I realised that Pampers boxes fit in there and I am still able to close the doors.

Pampers Boxes are not exactly very pretty and homey looking, so I was searching the net for some creative deco ideas and stumbled over this (cover and lining). I followed her instructions to a T and I love the way it turned out! I am actually soo happy with it, that I think it is way to pretty to be hiding in a cupboard. So now it is holding the wooden blocks in the kids room.

For the next one I thought I might try velcro instead of glue for the outside cover so I can take it off and stick it in the washing machine or onto the next box if the first one gets to battered in the play action with my two wild cowboys.
I added some photos, that will hopefully help you with Mandies instruction but they are already pretty straight forward. I was reading them overtired and managed to follow them. I didn't add photos for every step, just for the ones I either used or did something else or I needed a while to understand the original instructions.

I first cut of all flaps and taped the little latch from both sides with sello-tape

the outside taped


 You then have to find the center for the bottom of the box on your piece of material.

I marked the centre of the box, then measured 5cm towards the corner of the material at each edge of the centre marking. 

from the 5 cm point I made a line to each side of the material

cut the squares in each corner and then the 5cm line towards the centre

Iron seams and material.  This will help a lot when glueing.

I first glued the bottom, and added my husbands weights  to help the process a little 

that´s the glue I used

Glueing the sides: You start with the short sides. let your seam go over the edge onto the long side.  when glueing the long side, have your ironed seams right on the edge of the box. I measured my material a little longer so it reaches into the box by ca. 3 cm all around, these where the last bits I glued.

the lining: mark the middle of each side with a needle and then measure half the box and seam allowance in each direction and mark with needle. 


crossing the lines from the outside needles will make squares in each corner of your material, cut these squares out. 


now sew the two sides that remain after you cut out each square together. And at last hem all around.

Voilà


Now I can´t wait to get my hands on more material, to make a few more. We for sure have enough toys to stow away. I was actually amazed with how little work and time you can finish these off.