I was finally fed up with all the big boxes of toys in our living room, and made some space in our Billy shelf with doors. I realised that Pampers boxes fit in there and I am still able to close the doors.
Pampers Boxes are not exactly very pretty and homey looking, so I was searching the net for some creative deco ideas and stumbled over this (
cover and
lining). I followed her instructions to a T and I love the way it turned out! I am actually soo happy with it, that I think it is way to pretty to be hiding in a cupboard. So now it is holding the wooden blocks in the kids room.
For the next one I thought I might try velcro instead of glue for the outside cover so I can take it off and stick it in the washing machine or onto the next box if the first one gets to battered in the play action with my two wild cowboys.
I added some photos, that will hopefully help you with Mandies instruction but they are already pretty straight forward. I was reading them overtired and managed to follow them. I didn't add photos for every step, just for the ones I either used or did something else or I needed a while to understand the original instructions.
 |
| I first cut of all flaps and taped the little latch from both sides with sello-tape |
 |
| the outside taped |
You then have to find the center for the bottom of the box on your piece of material.
 |
| I marked the centre of the box, then measured 5cm towards the corner of the material at each edge of the centre marking. |
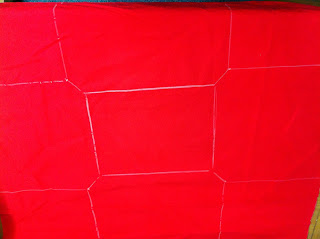 |
| from the 5 cm point I made a line to each side of the material |
 |
| cut the squares in each corner and then the 5cm line towards the centre |
 |
| Iron seams and material. This will help a lot when glueing. |
 |
| I first glued the bottom, and added my husbands weights to help the process a little |
 |
| that´s the glue I used |
 |
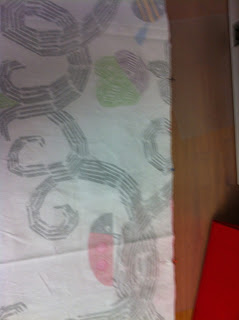
| Glueing the sides: You start with the short sides. let your seam go over the edge onto the long side. when glueing the long side, have your ironed seams right on the edge of the box. I measured my material a little longer so it reaches into the box by ca. 3 cm all around, these where the last bits I glued. |
 |
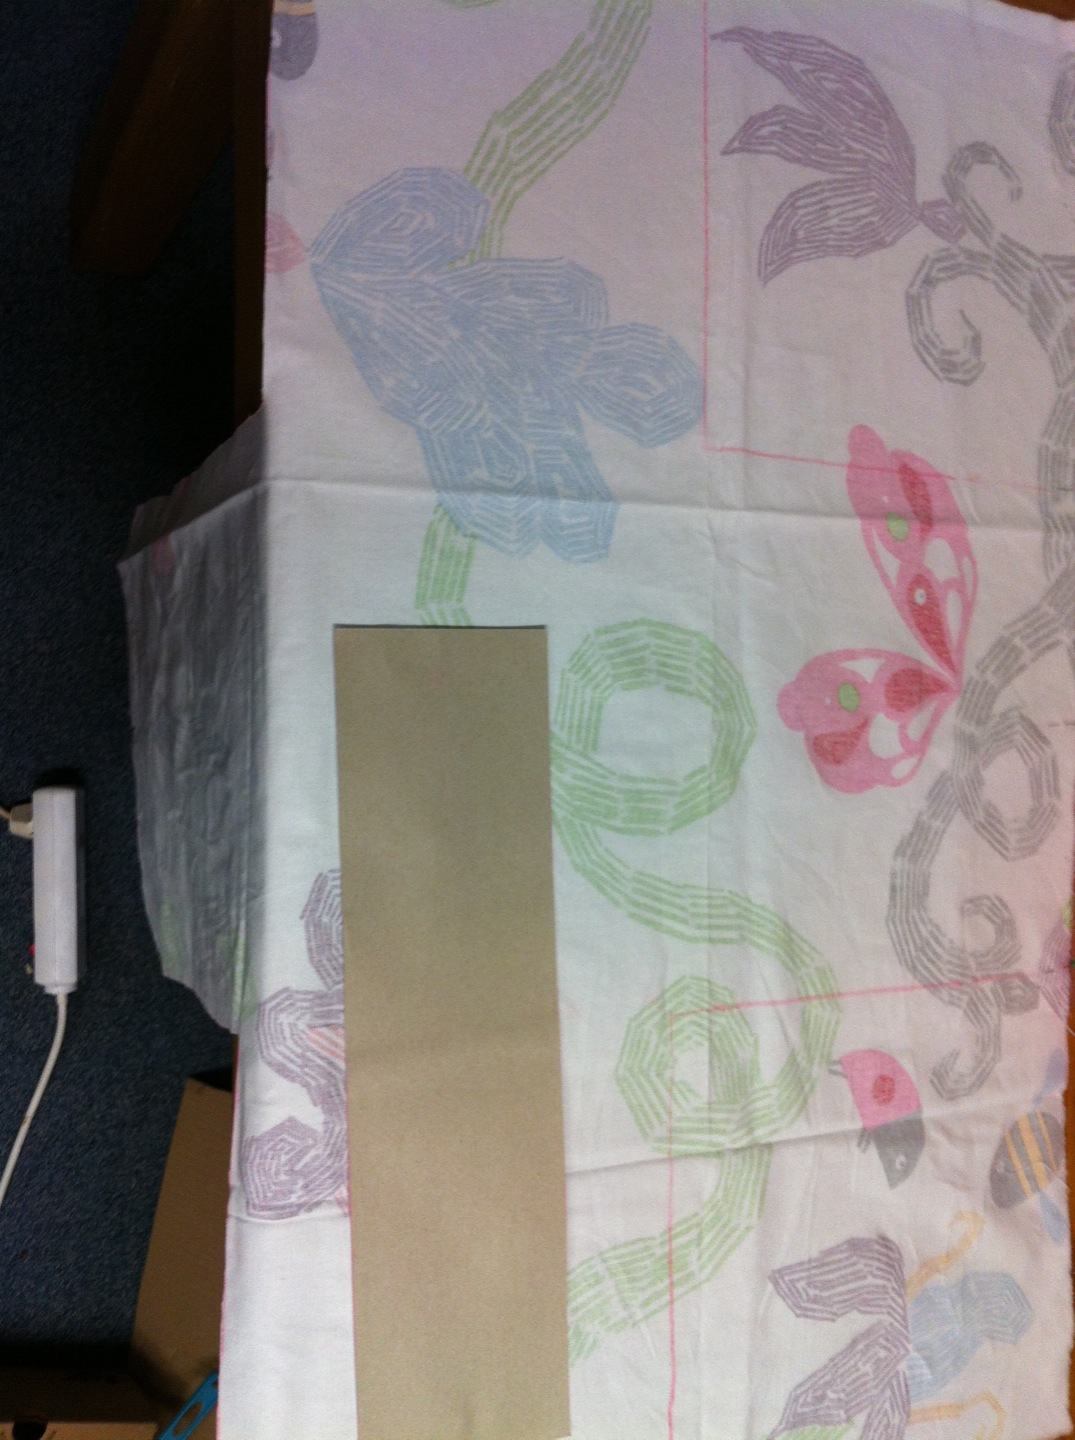
| the lining: mark the middle of each side with a needle and then measure half the box and seam allowance in each direction and mark with needle. |
 |
| crossing the lines from the outside needles will make squares in each corner of your material, cut these squares out. |
 |
| now sew the two sides that remain after you cut out each square together. And at last hem all around. |
 |
| Voilà |
Now I can´t wait to get my hands on more material, to make a few more. We for sure have enough toys to stow away. I was actually amazed with how little work and time you can finish these off.


Very nice work! these are some sturdy boxes, job up cycle!
ReplyDeleteThank you! yes they def do the job! And the boys are not exactly gentle with it! That is why I dont think it will survive forever and want to make the next one with velcro instead of glueing the outside. As they all come in the same size I can just transfer it to the next box.
Deletewow great Job..love the colors..so nice to up cycle very budget friendly tooo....
ReplyDeleteThank you! Yes thats what I liked most too! I got the material at Ikea sales and only payed about 6 € for both of them together.
Delete