
Making your own cream cheese is so simple and tastes so good, you will never want to go back to the bought one! And I dare say you have all the ingredients at hand. As this does not require anything fancy like rennet. All you need is yoghurt and some salt.
Making your own has many advantages. Because you use your own yoghurt you control the amount of fat yourself (mine has 3,8% as that is what fat the milk has that I use for making our yoghurt), same for the amount and the type of salt. Lets say you suffer from Hyperthyroidism (use salt, that has no iodine) or heart disease (use less to very little salt). I am also pretty sure you could make this vegan by using a vegan type of yoghurt but I haven't tried it myself.
You need something to use as a cheesecloth. Either a real cheese cloth, which I don't like! It is too much waste for my environmentally friendly taste. I use either thinnish kitchen towels or my by now not anymore needed Burp clothes. It is a great way to recycle (or is it an up-cycle?) these Burp-clothes.
After use I rinse them out, let them dry and then collect them for a hot-hot wash (95C) with washing powder and ACV (apple cider vinegar).
You also need a jug that is preferable not plastic and big enough to hold at least 700 ml volume.
Now line your jug with your Cloth, if it is a very thin cloth, but big enough consider folding it and use it double. Make sure you have enough excess material at all sides of the jug, so you can tie it later without the yoghurt squirting out the sides!
Now spoon 2 jars (each approximatly 200gr) of cold! natural yoghurt (here is a recipe for homemade yoghurt) into the cloth. Gather the ends not too tight, but short enough that there is at least 2 cm space below the hanging cheese cloth construct to let the whey drip out. Make sure at all times that the whey does NOT reach the bottom of your cloth! The most dripping will happen in the first 2h. I usually leave it for a while on the counter and pour the fresh whey straight into a little bottle.
 |
| this is the construction that works best for me. I started with a rubber band and a spoon to tie it up, but I find the clip works best, as it just fits over the rim of my jug. |
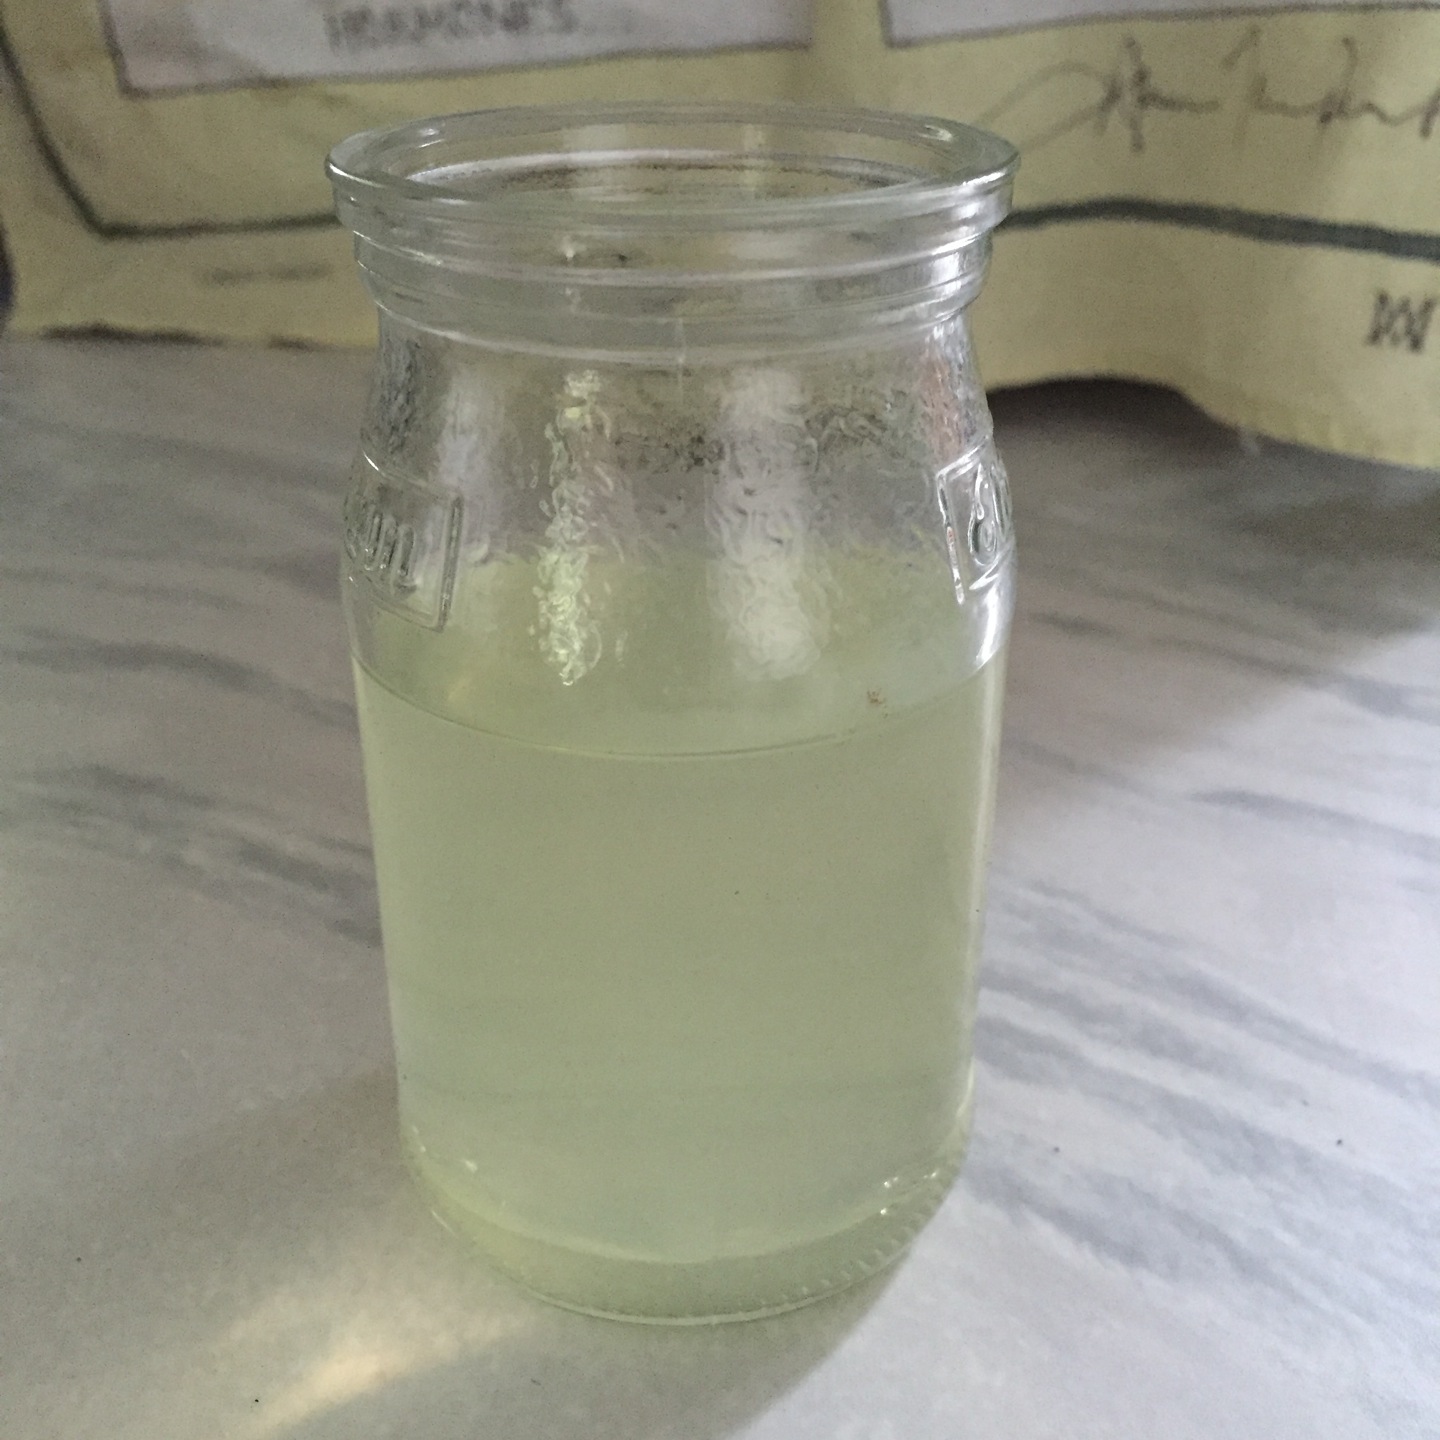 |
| Whey gathered and refilled |
Once it slows down dripping I put it into the fridge for 24h. After that scratch it out of your cloth into a bowel and add about 1/8-1/4 teaspoon of salt to taste ( I have seen up to one teaspoon in recipes, which I tried at first, but I found that it is way too salty). Now my husband (and some of our guests agree with him) wants me to stop here, as he likes his cream cheese creamy and soft. If you feel the same way about the consistency of your cream cheese, fill it into a jar and enjoy.
But, if you like it firm and crumbly get out a fresh cloth and line a very small bowl just big enough to hold the contents of your cream cheese mass. Fill the cream cheese into the cloth lined container. Cut out a piece of card board just a small bit smaller than the opening. Fold the cloth closed tight over the cheese. But your piece of card board on top and then go find some weight that fits on top and pushes the whole shebang down and is not any wider then the opening of your tiny bowl (I used to fill a yoghurt jar with water and screw the lid on and leave it on top of the cream cheese. refrigerate your construction for another 24h. scrape out of cloth into a fresh jar with screw-on lid and enjoy!
The whey contains a lot of the milks protein. I use it mainly for baking bread, but I also used it to start a ginger bug, in smoothies and as a treatment for powdery mildew on my courgettes/zucchinis and pumpkins plants.

Oh my goodness this is wonderful! Thank you so much for sharing!
ReplyDeleteThank you Deanna! I hope you´ll enjoy making your own!
ReplyDeleteI had no idea this was even possible, I will have to gather all the things I need to give it a try! Thanks so much for sharing!
ReplyDeleteYou are more than welcome, Melissa! I hope you get to enjoy some homemade cream cheese soon!
ReplyDelete